Before I glaze items with a large base, I apply wax to the base area to keep the glaze from adhering to it. This saves time and glaze as the base area needs to be free of glaze before firing. Items with a smaller base …

Before I glaze items with a large base, I apply wax to the base area to keep the glaze from adhering to it. This saves time and glaze as the base area needs to be free of glaze before firing. Items with a smaller base …
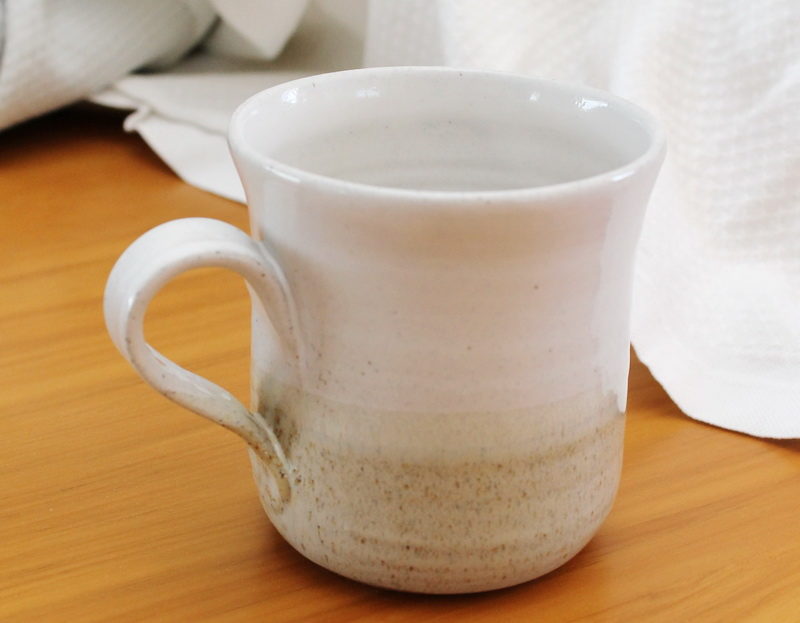
I leave my mugs in a damp cupboard overnight so they can’t dry too much before I start to attach their handles. Generally the handles and the mugs need to be at the same ‘softer than leather hard stage’ for the handles to be attached …
After the handles have been attached the mugs are left to slowly dry overnight. The next day they are trimmed while the clay is still soft enough, but not too soft, but strong enough so they are strong enough to be trimmed. When I have …

After the pots you have made have dried completely and undergone a bisque firing, it is time to prepare them for the next step, glazing. Each item needs to be dust free in order for the glaze to fully adhere to the body of the …
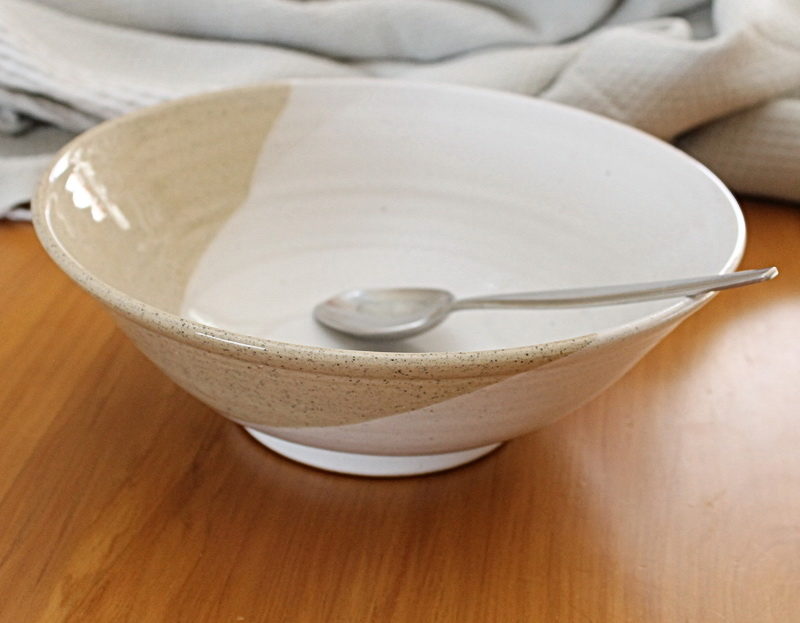
If you have ever wondered how a bowl is made, then this video will give you some insight First the clay is centered on a bat (wooden round thing) by working the clay up and down. This is also the time to remove all air …
Just a small amount of clay is needed to produce a good sized coffee/ tea mug. The clay is centered on the wheel bat and then the clay is opened up before it is lifted gradually to the required height. A guesstimate is made beforehand …
